Bad caulking leaves clues.
Thick buildup, rough tooling, staining, and open edges are more than cosmetic problems. They can trap moisture and make the next repair harder unless the failed material is fully removed first. Here's what to look for — with real examples from the field.
Four things to look for
Heavy buildup
Bead laid on bead until the joint disappears under material instead of being sealed by it.
Rough tooling
Smears, ridges, and finger marks left behind — a line that was never smoothed to the surface.
Staining
Darkening or discoloration along the seam, usually a sign moisture is sitting where it shouldn't.
Open edges
Caulk pulling away from tile, trim, or siding, leaving a gap water and air can move through.
Caulking that failed
Every one of these was found on a real job. The common thread: the old material has to come out completely before a new seal will hold.
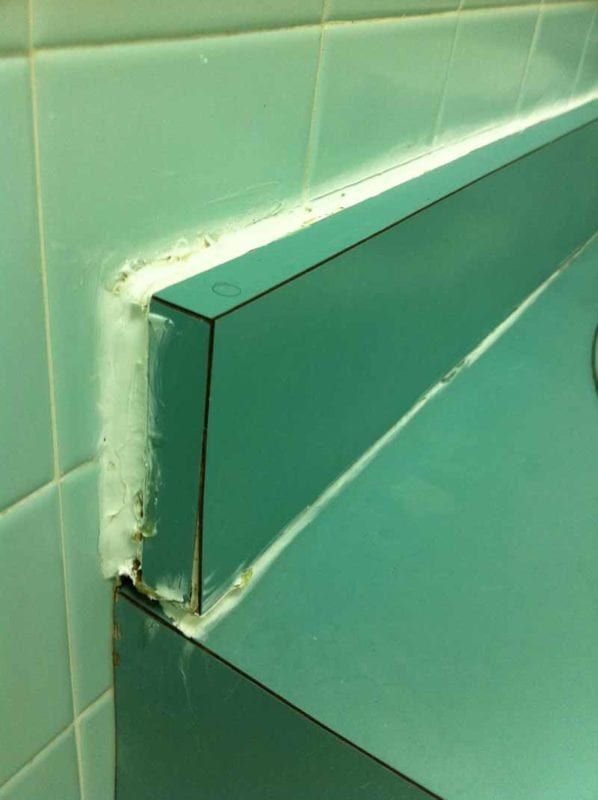 Bad caulking example
An oversized, uneven bead hides the joint instead of sealing it with a clean, consistent finish.
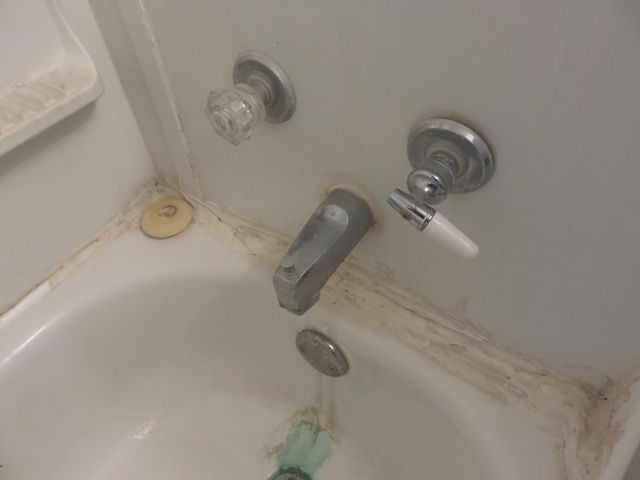 Bad caulking example
Discoloration, rough edges, and layered material signal a failed seal that needs full removal and fresh preparation.
Recognize any of this in your own bathrooms, windows, or exterior trim? Send a few photos with your quote request and we'll tell you what it needs.
How it gets corrected
- 01Full removal
The failed bead comes out entirely. Nothing new gets laid over old material.
- 02Clean & dry prep
Surfaces are cleaned and dried so the new sealant bonds to the substrate, not to residue.
- 03Right material
Silicone, acrylic, or polyurethane, matched to the surface and the exposure it has to handle.
- 04Tooled finish
Smoothed to one clean line — no smear, no gaps left to find later.